Image Map
Showing posts with label bake days. Show all posts

Sunday, 16 December 2012

Bake Days #2 :Fudge & White Chocolate Brownies

***Picture Heavy post***

Sorry guys, I am bit late in posting the 2nd second edition of bake days . All the blame is going to none other than university and its neverending workloads!

Anyway,  I decided I wanted to make use of some free morrisons chocolate I got when I visited there stand at a placement fair a few weeks back , and what better way to use chocolate in a recipe other than BROWNIES, which happens to be one of my favourite desserts.


Ingredients

Serves12

Chocolate Brownie Mixture

4 large eggs
175g Unsalted Butter
175g Plain flour

1 teaspoon of Baking Powder
100g Cocoa Powder
175g soft brown sugar

175g Caster sugar
1 teaspoon Vanilla Paste or Vanilla Extract
1/2 teaspoon mixed spice (Optional)
100g Milk Chocolate 

Fudge Chunks ( I used Thortons Vanilla Fudge)
100g White Chocolate  ( I used patisserie)
Golden Syrup (Optional) 
Deep baking tin
Cake Release Spray to grease tin ( Optional)
  • Extra icing sugar for dusting brownies
  •  

    METHOD 

1. Preheat oven to 200 C / Gas Mark 6. Prepare your tin by greasing it with Cake Release spray or Butter and line with baking paper.

2. In a saucepan put about 25ml of water and let it simmer, then cut your butter into small chunks and break your bar of milk chocolate in a heatproof bowl and put over the simmering saucepan , Make sure your heatproof bowl does not touch the water and keep mixing until it has completely melted and is smooth is consistency. 


3.  Then in a mixing bowl,  beat an egg into the soft brown & caster sugar mixture.

4. Add the melted butter and chocolate mixture which you made earlier to the sugar & egg mixture and mix together.


5. Sift the flour/cocoa powder/Baking powder little by little into the sugar, chocolate, butter and egg mixture, but make sure you fold it with either a tablespoon or spatula instead of a mixing it with an ordinary wooden spoon , in order to ensure it keeps it light/airy consistency.( You can identify this by seeing if bubbles arise when you fold the mixture) 


6. Once it is all mixed together and smooth in consistency without any lumps of flour, then cut up  your white chocolate pieces and fudge pieces  and fold it into the chocolate brownie mixture .


7.  Once it is all mixed,pour your mixture in your lined/greased baking tray and shake the tray a little bit to even out the mixture . 


8. Once you have smooth your mixture into the baking tray, add sprinkle a few pieces of fudge on top. Bake in the oven for approximately 25 minutes. You don’t want to overcook them so, unlike cakes, you don’t want a skewer to come out all clean. The brownies should be slightly springy on the outside but still gooey in the middle.


9. Once baked, leave your brownies to cool in the baking tray. Once cooled , cut into 12 pieces and  sift icing sugar on top , for decoration (Optional). Then serve.

 
There you have it, the final product Fudge & White Chocolate Brownies.


Let me know your favourite dessert?!

Peace, Love & Besos


Wednesday, 21 November 2012

Bake Days #1 - Cookie Monster Cupcakes

 ****Picture Heavy Post****

Welcome to the first edition of Bake days, I have now begun to dedicate my sunday afternoons to being a domestic goddess in the kitchen (cooking, baking & cleaning) before starting a hectic week of university lectures/seminars.

So a couple of weeks ago, if you saw my instagram you would have sneak-peeked my first baking creation.  I decided I wanted to bake some cupcakes but not your standard cupcake but a themed cupcake which I chose to be reminiscent of one of my favourite childhood tv show's 'Sesame street' , in particular the notorious "Cookie Monster" so I recreated the design of the cookie monster cupcakes.


Ingredients

Serves12

Vanilla Cupcake Mixture

2 large eggs
175g Margarine
175g Self Raising flour
175g caster sugar
1 teaspoon Vanilla Paste or Vanilla Extract
1/2 teaspoon mixed spice (Optional)
1/2 juice of a  Lemon (Optional)

Large cake paper cases

  • Buttercream Mixture

50g Margarine
1 teaspoon Vanilla Extract or Vanilla Paste
Blue Gel food colour (Adjust depending on your preference)
Sifted Icing Sugar (Apologies, I didn't measure this as I added as and when it was required, I would use 50-60g if I did measure)


  • Coconut topping Mixture

    Desiccated coconut ( Again sorry I didnt measure I probably used 250g of the packet

    Blue Gel Food Colour (Be generous with the colouring as you need to ensure the coconut is fully coated so probably 1 1/2 tablespoons)


    Cookie Monster Face

    6 chocolate chip cookies for the mouth ( These will be halved)

    Giant or normal sized white chocolate buttons for eyes

    Designer writing icing or Milk/Dark Chocolate chips for pupils of eye


    METHOD 

1. Preheat oven to 200 C / Gas Mark 6. Prepare your cake tin with 12 paper cases.    

2. In a mixing bowl , mix the butter and caster sugar together until light & creamy in consistency. 

3.  Then one by one, beat an egg into the butter & sugar mixture (not too vigariously as you want the cakes to be light and airy) . 

Optional: if you like you can put a dash of lemon juice in the mixture so the eggs are not so rysh once cooked.


If the mixture looks slightly curdled , don't worry as the flour will help to bind it together. But make sure you don't overmix.
4. Add the vanilla paste or vanilla extract to the egg, butter & sugar mixture.


5. Sift the flour little by little into the sugar, butter and egg mixture, but make sure you fold it with either a tablespoon or spatula instead of a mixing it with an ordinary wooden spoon , in order to ensure it keeps it light/airy consistency.( You can identify this by seeing if bubbles arise when you fold the mixture) 


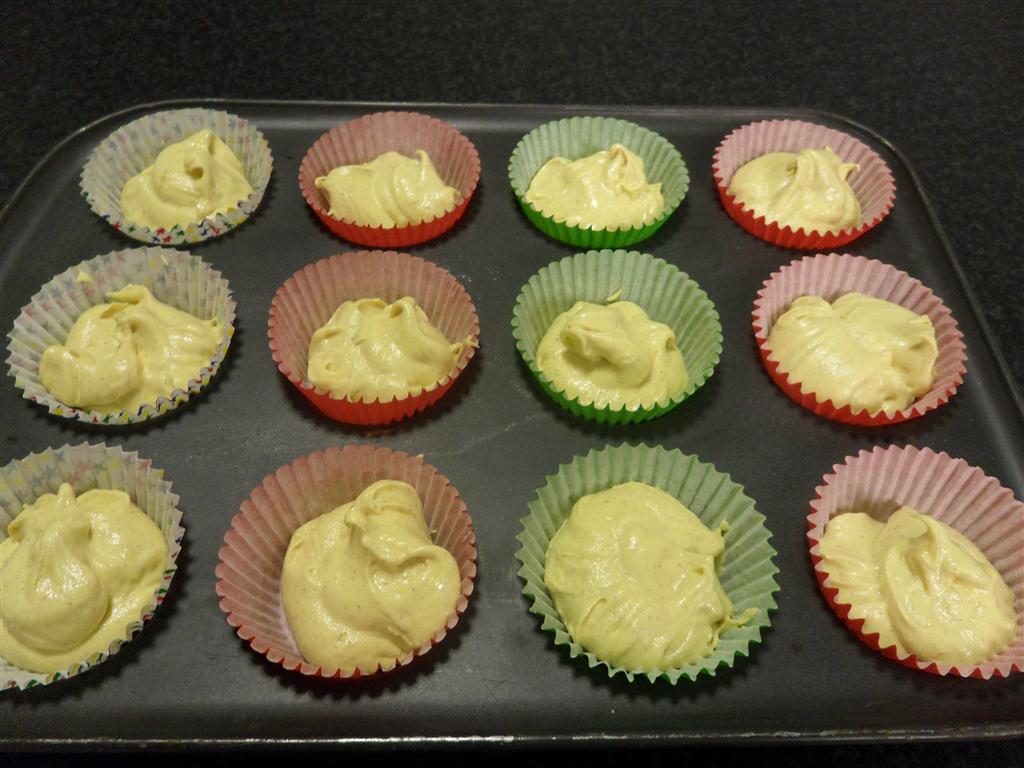
6. Once it is all mixed together and smooth in consistency without any lumps of flour, then fill  approximately 1 tablespoon & 1/4 of cake mixture into the paper cases. Then bake in the oven for approximately 15 to 25 minutes until they are a light golden brown or once you press them and they spring back when you touch them in the middle.(Note: Keep an eye on them as they tend to cook quite quickly).
7. Once the cakes are cooked, take them out of the oven and transfer them to a cooling rack, so they are completely cook to enable you to put on your cookie monster faces.
8. Prepare your buttercream mixture by mixing together  in a small bowl the margarine , vanilla paste/extract, blue food colouring and the sifted icing sugar until thick/smooth without lumps. If it is too runny, add more icing sugar and put to one side.

9. Then in another bowl mix together the dessicated coconut with the blue food colour and ensure the mixture is all blue without any pieces in white and put to one side. 
10. Then prepare the cookie monster face by getting your cookies and cutting them in half with a knife ( A normal one is fine, doesn't have to be a sharp one) then set aside. Create the eyes of the cookie monster by getting your white chocolate buttons and adding pupils to them by putting a small 1cm drop of icing or chocolate chip (Stick it with buttercream/icing or edible glue) in middle.
11. Get your cooled cupcakes and create the faces by firstly spreading a layer of buttercream all over the top of the cakes, then add sprinkle generously the dyed coconut to create texture. Make a slit for the mouth and stick a half of cookie in the split for the mouth. Then add the two eyes which you previously set aside.
There you have it, the final product cookie monster cupcakes.


Let me know if you have you tried baking these before?!

Peace, Love & Besos

Related Posts Plugin for WordPress, Blogger...